


 We deliver to lockers!
Pick up your orders anytime, hassle-free!
 Fast Delivery!
Orders placed by 2:00 PM are shipped the same day. Delivered within 24h!
 2-Year Warranty
Reliable products, worry-free!
 Easy 14-Day Returns
Unused items? No questions asked!
GroundStudio products are built using high-quality components and are designed and assembled in Romania.
 |
 |
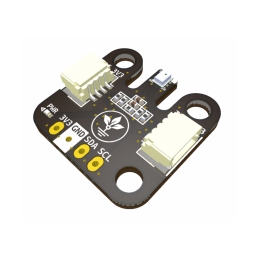
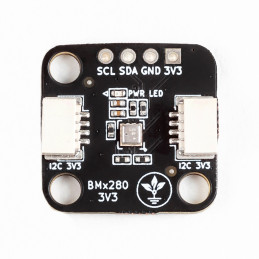
Module based on the ICM-20948 IC, suitable for motion detection using a 3-axis gyroscope, a 3-axis accelerometer, and a 3-axis compass. It allows easy I2C connection via the I2C_3V3 connectors.
Supply voltage: 1.8 V or 3.3 V
3-axis gyroscope, programmable range: ±250 dps, ±500 dps, ±1000 dps, and ±2000 dps
3-axis accelerometer, programmable range: ±2 g, ±4 g, ±8 g, and ±16 g
3-axis magnetometer: ±4900 µT
Dimensions: 24.6 × 26.4 mm
Interface: I2C
*The datasheet for the ICM-20948 component is available as a PDF in the DOWNLOADS section.
To follow this example, you will need:
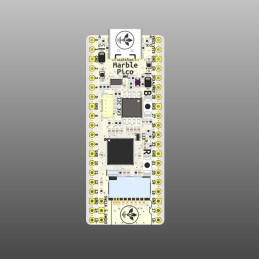
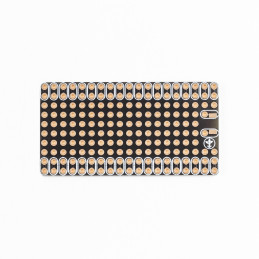
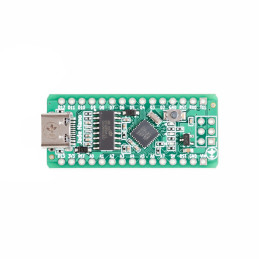
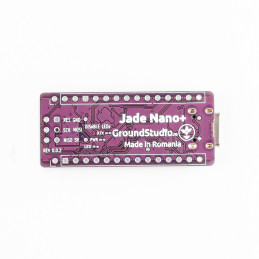
1× GroundStudio Marble Pico development board || Reference RLJDMV_GS
1× ICM-20948 9-DOF module GroundStudio || Reference LNGSZO_GS
1× SH-4P I2C 3V3 cable compatible with QWIIC/STEMMA
Before connecting the board, download Arduino IDE 1.8.x from the link above, according to your preferences and operating system.
Make sure the board is in Boot (programming) mode by following these steps:
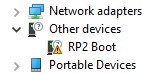
After entering Boot mode, an up-to-date version of Windows will automatically detect and install the required driver.
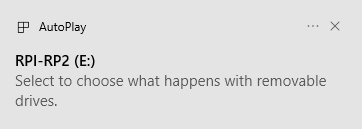
In Device Manager it will appear as RP2 Boot, as shown below:
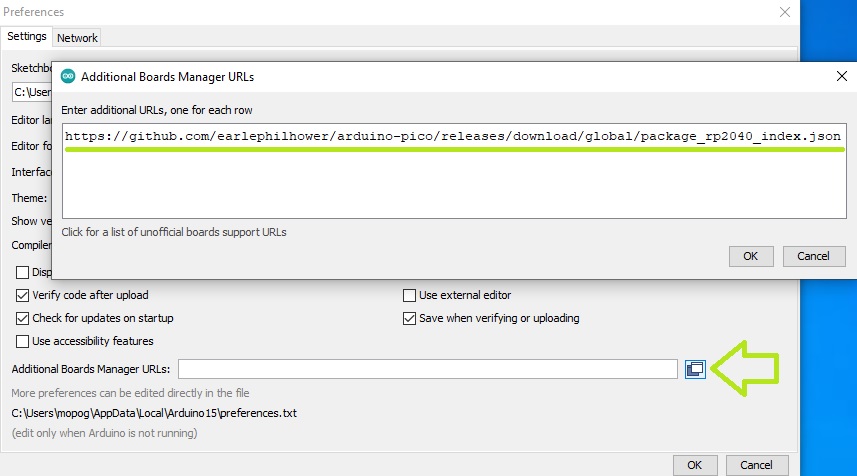
To install the RP2040 boards package, copy the following link into the "Additional Boards Manager URLs" field in the File → Preferences menu:
https://github.com/earlephilhower/arduino-pico/releases/download/global/package_rp2040_index.json
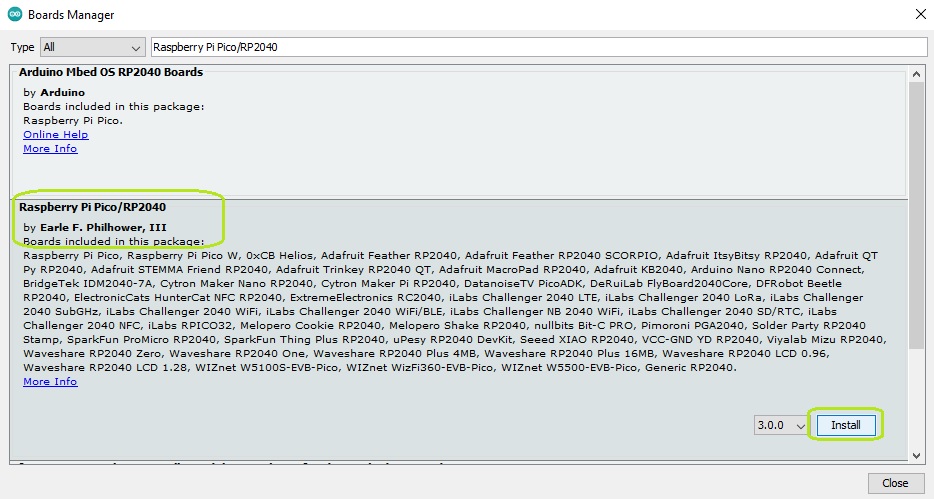
Click OK, then in Tools → Board → Boards Manager... search for and install the latest version of "Raspberry Pi Pico/RP2040 by Earle F. Philhower, III".
To select the board, go to "Tools", then click Board → Raspberry Pi RP2040 Boards and make sure Raspberry Pi Pico is selected.

Next, tell the Arduino IDE which serial port your development board is connected to. Go again to "Tools", then hover over Port and select the Marble Pico board’s UF2 port.
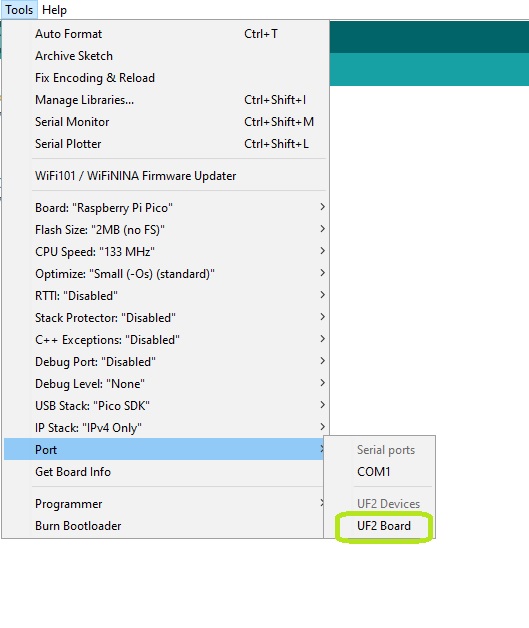
WARNING: the development board must be in Boot mode (Step 2) to be detected as a UF2 device.
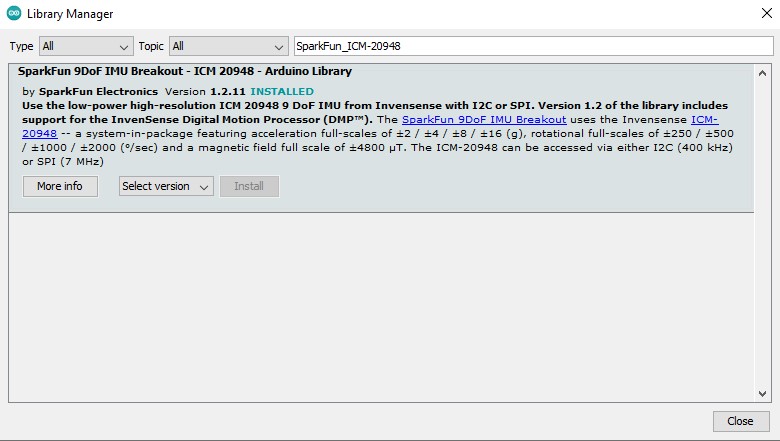
From the Tools menu select Manage Libraries... and in the window that appears search for and install the SparkFun ICM-20948 Arduino Library.
Go to File → Examples → SparkFun 9DoF IMU Breakout – ICM 20948 – Arduino Library → Arduino → Example1_Basics.
After uploading the code and connecting the sensor to the development board through the I2C_3V3 ports, the values sent by the sensor will be displayed in the Serial Monitor.

1× ICM-20948 9-DOF module GroundStudio
1× 1×4 male pin header, vertical
1× 1×9 male pin header, vertical
WARNING: The included pin headers are not soldered, and we do not provide soldering services for them.

Specific References
Your review appreciation cannot be sent
Report comment
Report sent
Your report cannot be sent
Write your review
Review sent
Your review cannot be sent
Reference: WATJRZ_AAA
Brand: GroundStudio
Reference: XLRTNB_AAA
Brand: GroundStudio
Reference: GLBDOD_FDP-FF-40x10
Reference: DQYNCA_FDP-FF-40x20
Reference: OTGKMP_FDP-FM-40x10
Reference: ZCBOZH_FDP-FM-40x20
Reference: XLRTNB_AAA
Brand: GroundStudio
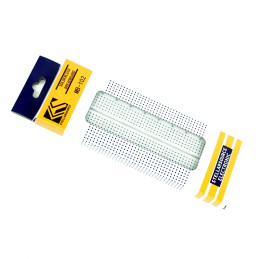
Reference: KIT-BB830
Reference: RXHZTA_ABA
Brand: GroundStudio
check_circle
check_circle